Creating an RSS-Driven MailChimp campaign makes email marketing quick, easy, and automates your email marketing. These campaigns are triggered by your website’s RSS feed everytime you post new content to your blog or news updates.
Rootid uses RSS-Driven MailChimp campaigns with our clients frequently. They free you and your staff up to undertake other marketing efforts. These campaigns, are part of a group of automated marketing tools that you can use to perform multi-channel marketing efforts.
This post will walk you through how to control the content that is included, how to control the frequency of the sends and building a template.
Build an RSS-Driven MailChimp Campaign
- After you log into your MailChimp account, navigate to the Campaigns section of your account using the sidebar navigation.
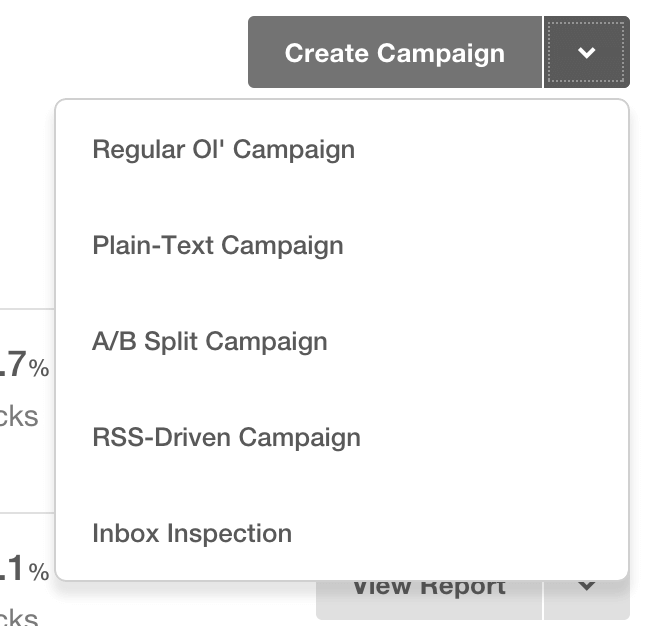
- From the dropdown menu that says “Create Campaign,” select “RSS-Driven Campaign.”

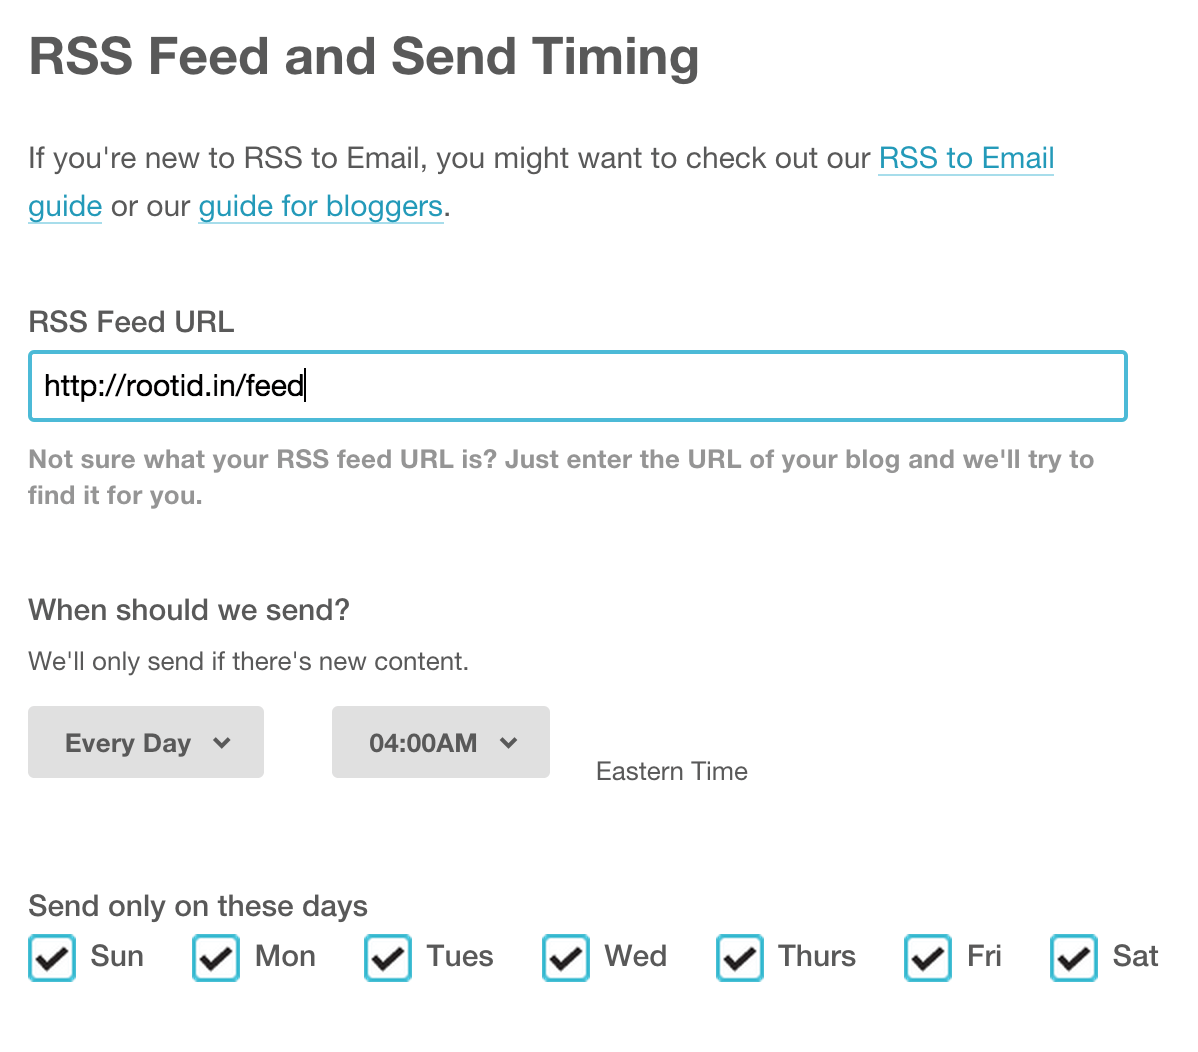
- This screen is where you will configure your campaigns frequency, and where the content comes from. First, paste your website’s RSS feed URL into the “RSS Feed URL” field.
- Next, select the frequency and time of the send. You can choose to send everyday, once a week, or once per month. You can also select what day the email will go out. After you’ve filled out the information, click the next button.

- On the next screen select the Recipient list to which you want to send the campaign.
- On the Setup page, you can configure the email “subject,” the “from name,” and from “email address.” The subject field will allow you to use MailChimp Merge tags to have dynamic information. This is useful to show your constituents new informatio each time that they receive an email. Read more about MailChimp merge tags.
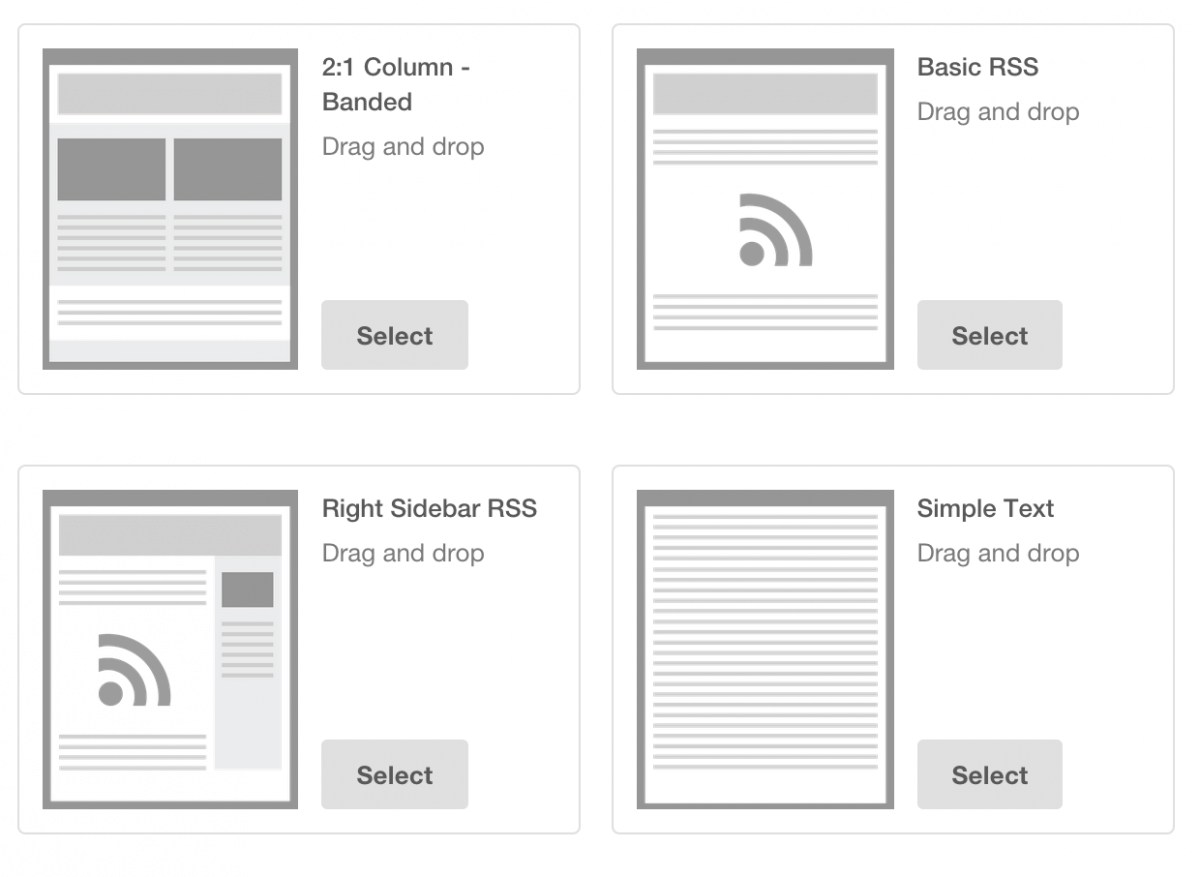
- On the Templates screen, you can select the layout of the campaign. Find a pre-designed campaign that works well for you. Of course, you can always customize a campaign too if you are comfortable with MailChimp’s template editing capabilities. For simplicity, we recommend choosing one of the pre-developed RSS layouts. Once you have selected your layout, click next.

- On the design screen, you are presented with different ways to add content to the layout. Drag and drop the RSS content blocks into your layout to quickly add predefined RSS merge tags. The best part is that MailChimp will read your RSS feed for you and present you with only the content that already exists! Man, they’re smart.
- After you are done adding your content, you’re ready to go! Click confirm.
- You will be presented with a checklist of items to review before you launch. If there are problems a button will be presented that says “resolve.” If you don’t see that, you’re ready to rumble.
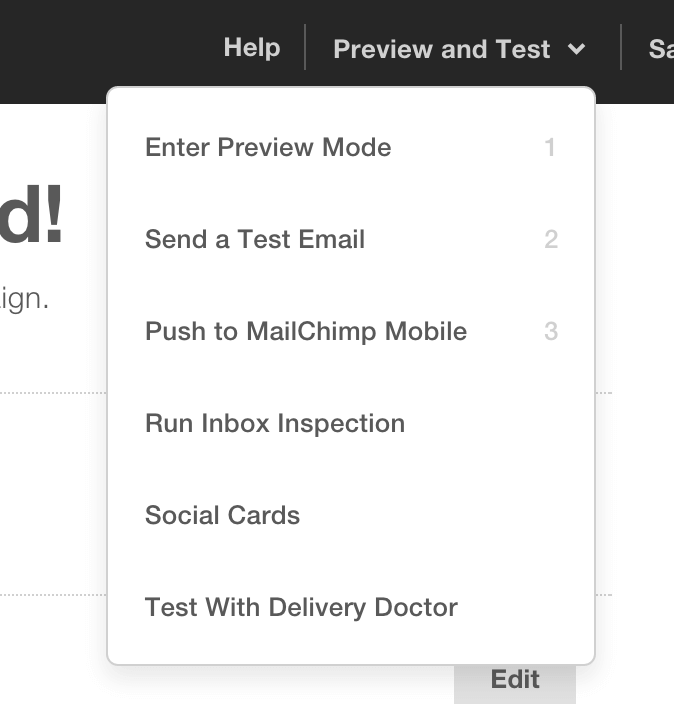
- Before you pull the trigger, I recommend that you test your campaign. In the top right of the screen, select the “Preview and Test” menu item to send yourself a test email. This will allow you to see what the campaign looks like in your email client. Once you receive the test, make adjustments as you need to.

- When you are done testing, click the “Start RSS” button in the lower right hand corner on the confirm screen.
Wow! That was easy. Now you don’t have to spend your time sending email updates to your constituents. In fact, this is just one way that you can automate all of your multi-channel marketing efforts at your organization.
Need help? Contact Rootid to see how we can help you with MailChimp campaigns and other marketing efforts.
